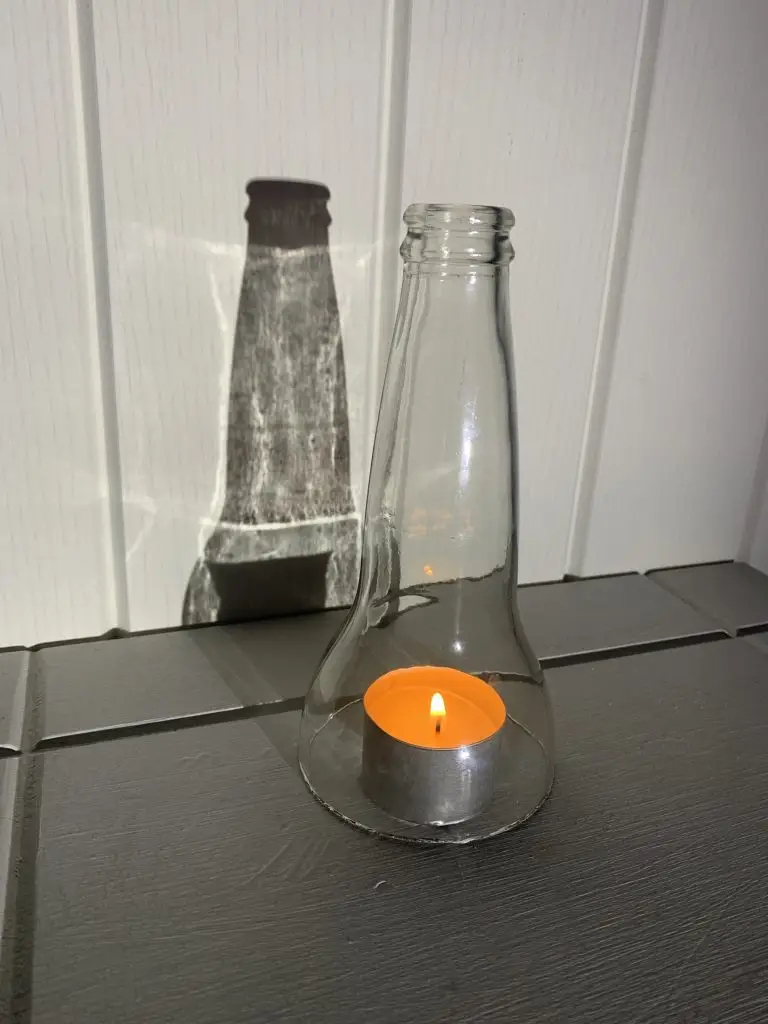
This was one of my first bottle cutting projects. There is nothing complicated about it, just score the bottle all around with the glass cutter kit, pour hot water along the cut line, dunk in cold water and hey presto you have a glass!
Well it’s maybe not quite that straight forward!
If you are like me, there will likely be some casualties along the way where the bottle does not split neatly along the cut line all the way round. When this happens some can be saved and some are headed straight to the bottle bank. It depends on which way the fault went, above or below the cut line.
If the bottle cracked apart partially below the cut line I guess you could consider making a smaller glass with a new cut line but I don’t bother as there is much more scope for picking up an injury attempting this.
If the bottle cracked apart partially above the cut line then you can rescue the situation by using a small electric cutting disc or grinder, such as a Dremmel, to either cut off or grind down the excess glass that is protruding above the cut line.
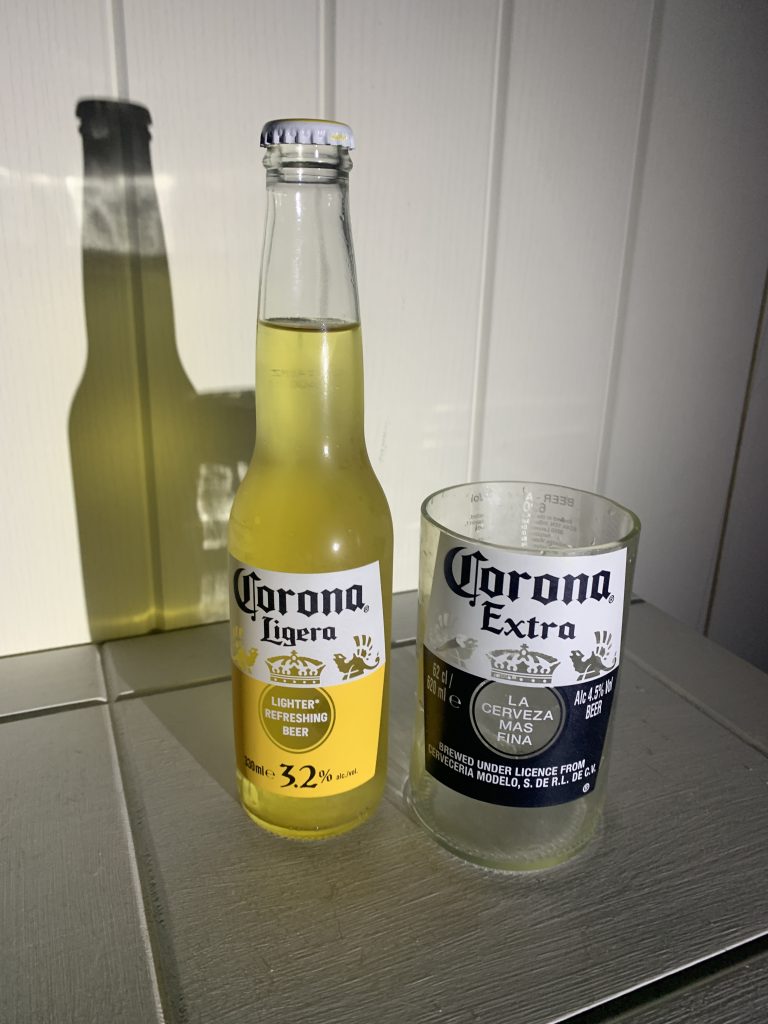
If you are lucky, as I was in the picture above, you will achieve an almost perfect cut line around the bottle. But whether this was achieved or you had to trim any imperfections first, rule number 1 is do not run your finger around the edge you have just cut to see how smooth it is. It won’t be smooth at all and you will cut your finger.
You will need to smooth off the top edge and the inner and outter rims of the glass to make it usable without risk of cutting your lips in half. I have used a combination of sand paper, wet and dry glass paper and grinding stone to achieve this. Again be careful not to cut your fingers during this process by using sanding blocks and/or wearing a protective glove.
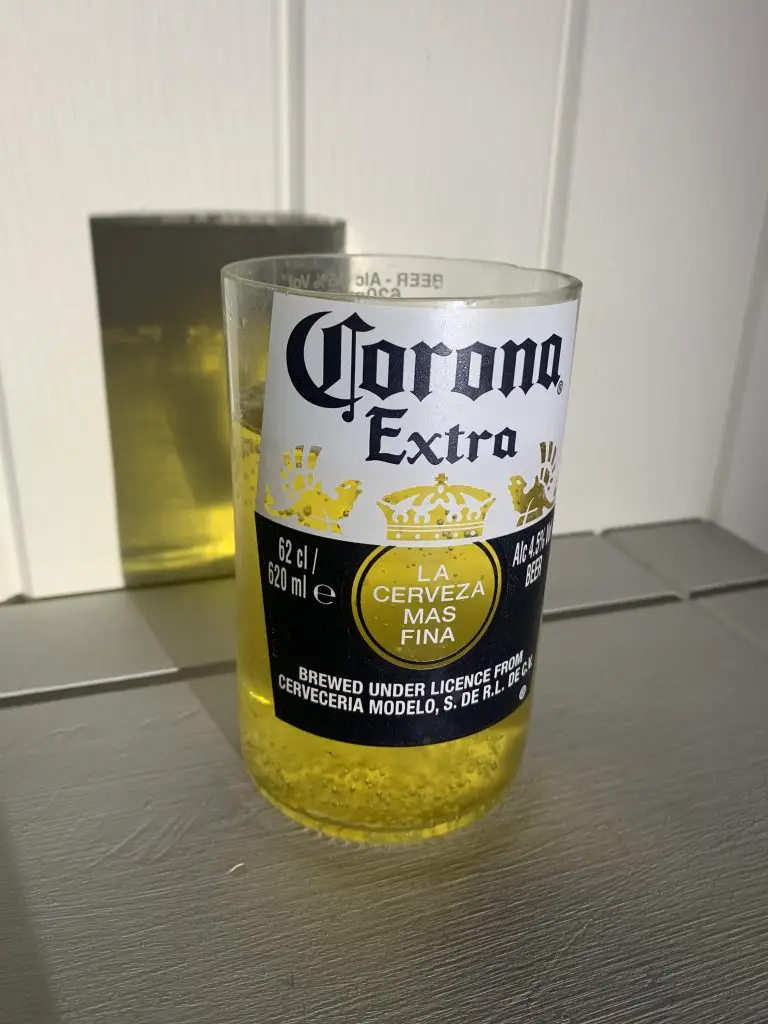
If you are trying to achieve absolute perfection so that the glass is perfectly level all the way around the rim then you are more patient person than I am. Practically level but perfectly smooth is where I call the project complete. The areas that you have smoothed down will not be as shiny as the rest of the glass anymore, so if you can see any shiny glass around the rim sand it some more as it will likely still be sharp enough to cause injury.
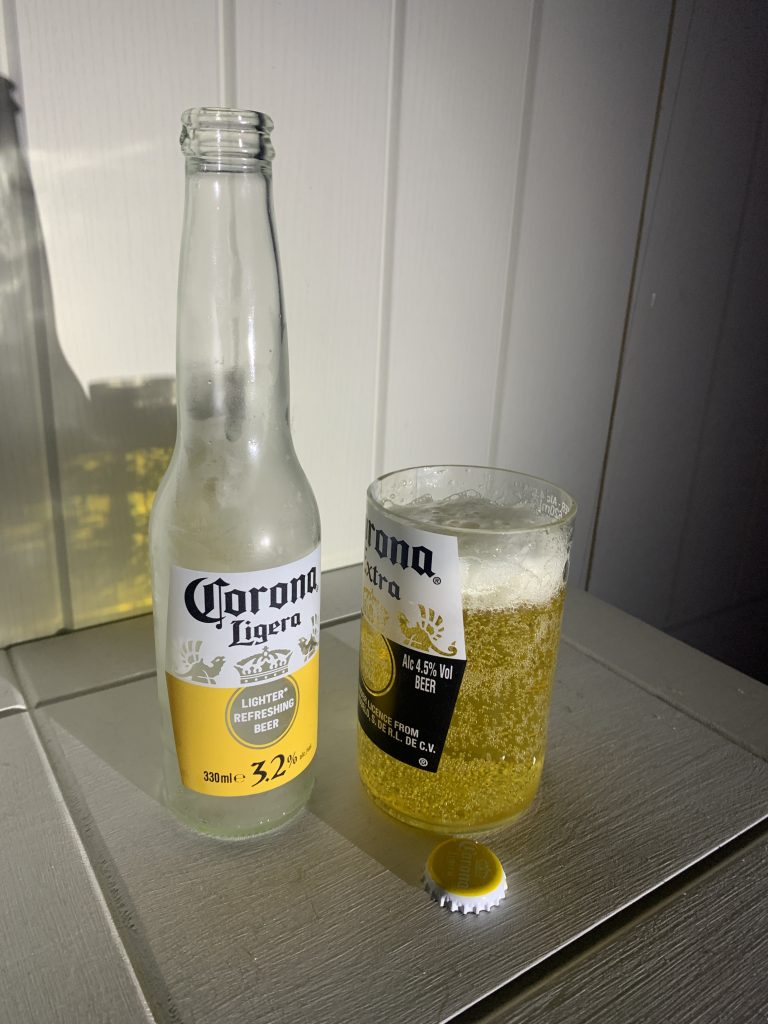
When done, you will be able to run your finger around the entire rim without making it bleed and be safe in the knowledge that your lips will remain intact when enjoying the first beer out of your new glass.
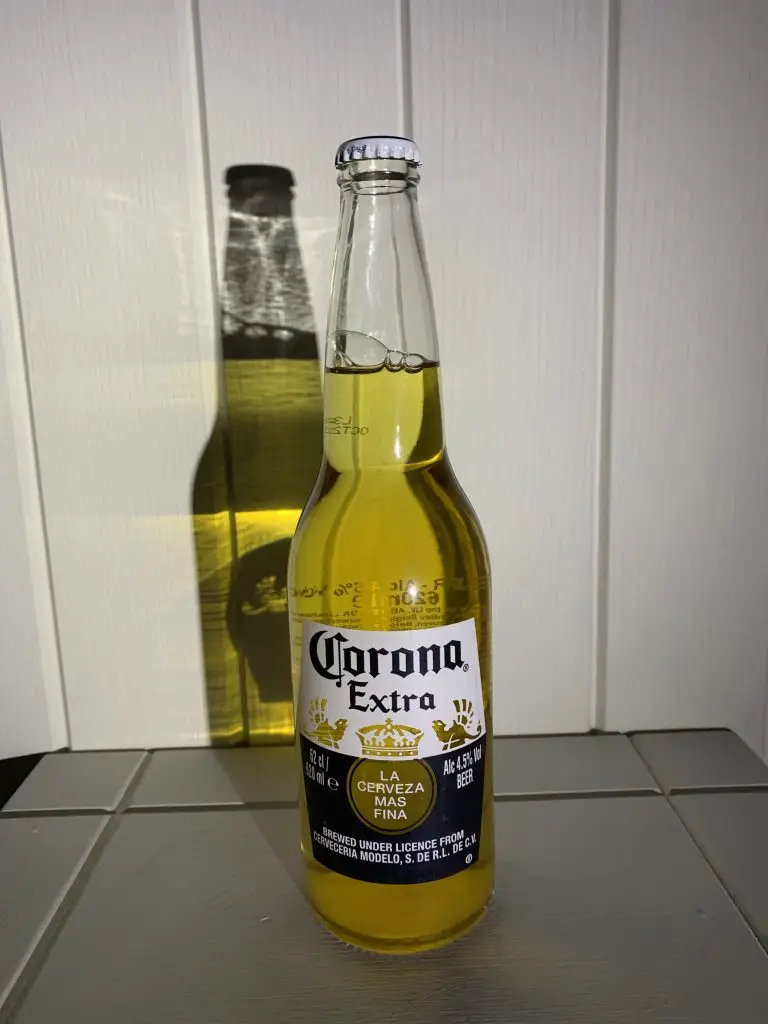
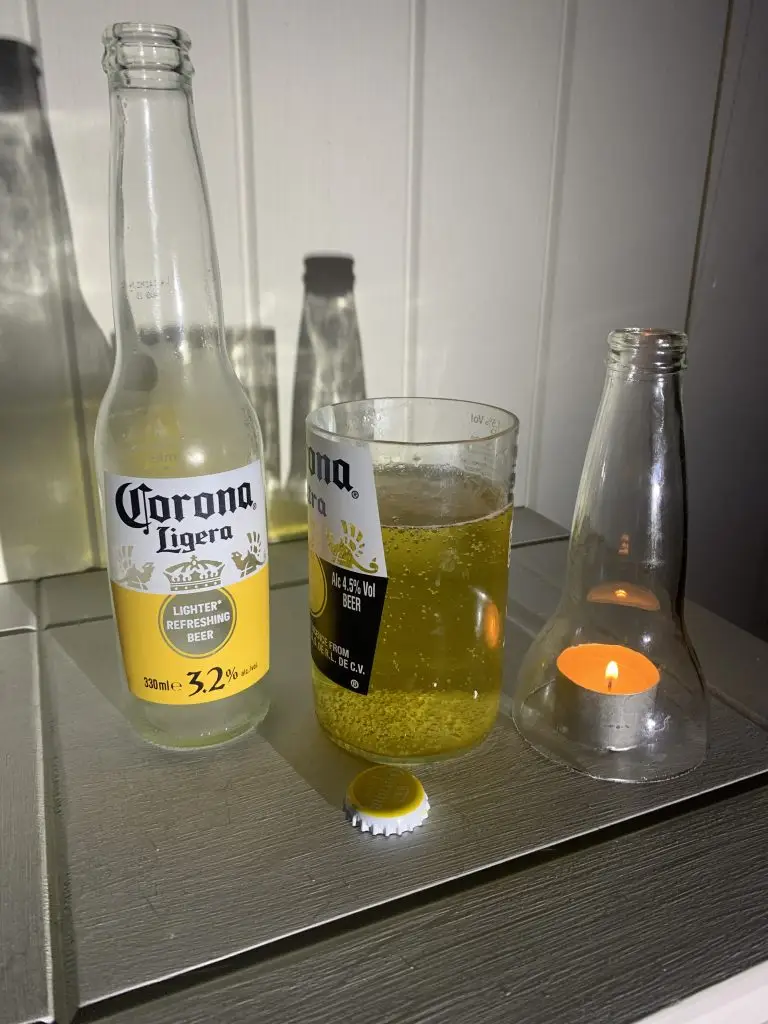
This glass was cut from a 620ml bottle just above the label area and just below the neck line. It comfortably holds the contents of a 330ml beer bottle. It will also comfortably accommodate the entire contents of a 330ml can of coke with a generous serving of ice. I haven’t measured it precisely but I estimate the volume it could hold as being in the region of 440ml.